Arizona Gardening: A Permaculture Garden Design
Arizona gardening calls for a permaculture garden design--even in small backyards. Learn how to grow with great water saving methods to help you get though our Phoenix summer. Vegetable gardening can be hard in our harsh desert climate, but with the right methods, we live in one of the best states!
Our growing season is long--as long as you water, you can garden all year round.
Disclosure: Some of the links on this page may be affiliate links, meaning I may get a small commission if you make a purchase. Read the full disclosure here.
Permaculture Garden Design — Water is Key
There are lots of tips and tricks out there for growing an amazing garden in Arizona. A correct watering method is probably the most important part of Arizona gardening. I wrote about garden watering systems a while back if you want to look at some of the more conventional options.
Since then, I've learned about an even better way of gardening, and guess what...the natives who have lived in Arizona for hundreds of years have also used this water-wise gardening method.
The Problem with Raised Beds in Arizona Gardening
Most gardeners have heard of raised beds, they are quite popular for many great reasons. You just throw them up and you're ready to garden--no soil prep. When we moved here we set up lots of raised beds.
We made them out of cinder blocks, and then filled them with 100% compost. That fall/winter (the best growing season in AZ) we planted our seeds, and then we watered with a garden spray nozzle on a standard hose. We had a good garden that season. The plants loved the rich, dark compost and as long as we watered enough (If I remember correctly it was one a day once the plants were bigger and two to three times a day when starting seeds.) things grew and everyone was happy.
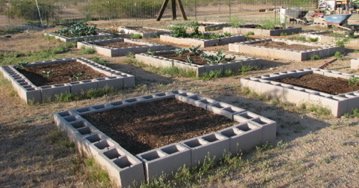 Our old raised beds. Made out of cinder blocks and filled with 100% compost.
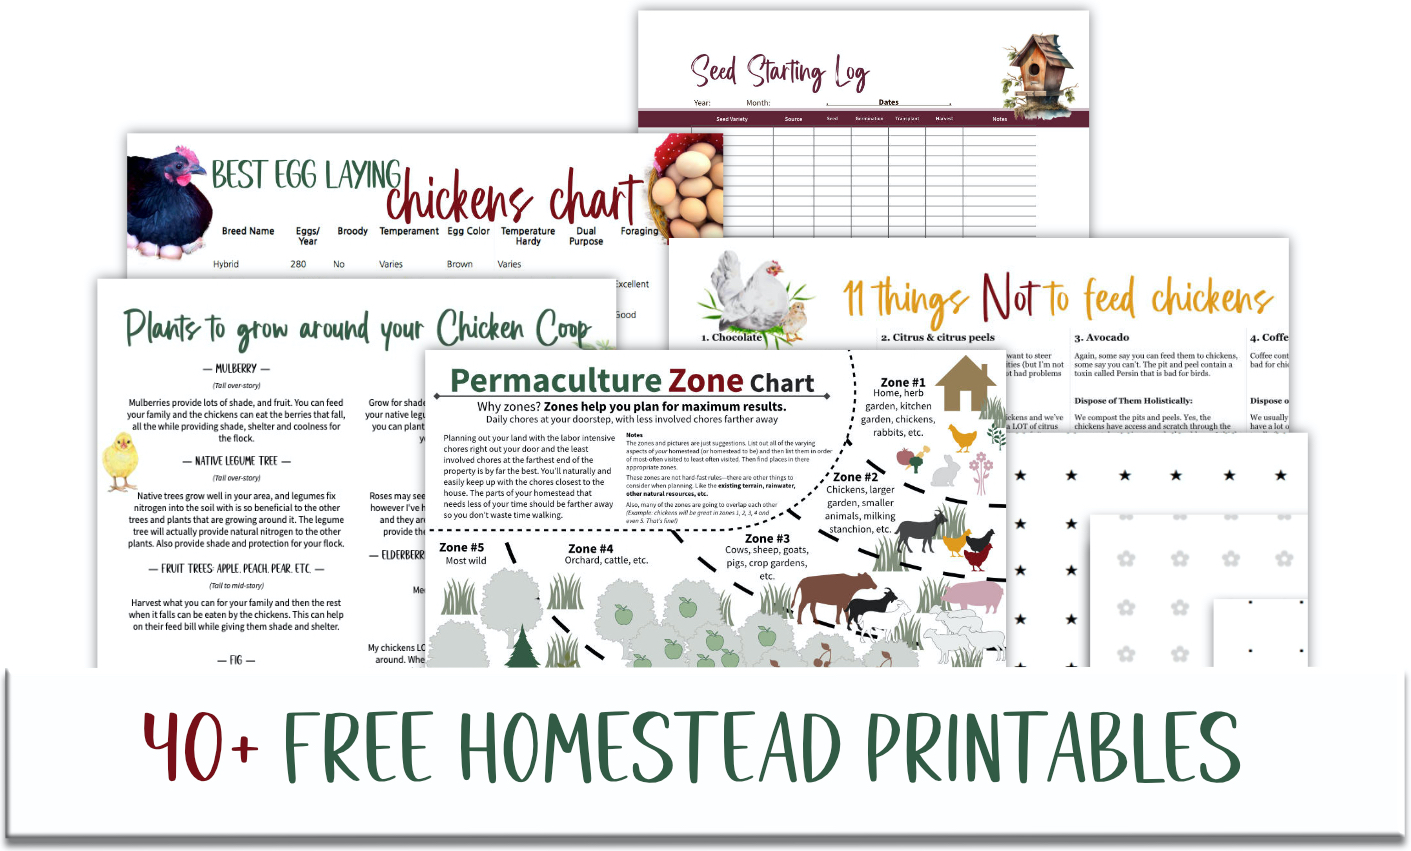
Do you know what NOT to feed your chickens?
Here are 11 things not to feed chickens in a easy-to-reference chart! Download Your Own Copy Now!
Psst! Just so you know you are also signing up for my email list. You can unsubscribe at any time.
We managed with that for a few years, but there was one thing we could never do...
Grow a garden in the late spring/summer.
It was too hot and dry. The beds were in full sun and watering three times a day we could not get seeds to germinate. Even the few plants that made it, barely made it. They were more dry and not so happy looking. I realized, gardening in our Arizona summer wasn't working in our raised beds.
Problems with Raised Beds in the Desert
- 1. They dry out fast
- 2. They need water constantly
- 3. They get hot (in-ground beds have lots of surrounding soil to keep them cool)
- 4. Plants don't thrive if you get them to grow at all
- 5. They are a water waster
Now, I see now there are ways you can do it more efficiently than we were (and if you choose to go with raised beds seriously consider these next two points).
- Mulch thickly
- Set up an automatic watering system
Mulch is so key to keeping soil moist and cool, raised beds or otherwise. The heat in the desert makes it a thousand times more important to mulch than other places. When you do mulch, mulch thickly (3-5 inches) and be prepared to add more mulch as the growing season continues.
If you are Arizona gardening in raised beds, I highly recommend installing an automatic watering system.
The Opposite of Raised Beds
After that we did some gardening right at ground level. We set up some soaker hoses and drip tape and I deep watered about once or twice a week (after the seeds were established).
This was so much better than the raised beds! The soil stayed moister, and cooler and the plants looked much happier than they were in the previous location.
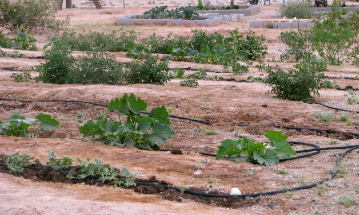 In-ground row garden (raised beds far in the background).
Sunken Beds
After doing more research and coming across different things online about gardening and rainwater harvesting, I heard of "sunken beds". Sunken beds are the opposite of raised beds, you dig them out of the ground instead of piling on extra soil. :-)
The reasons for doing sunken beds were amazing and I was sold! It looked perfect for our harsh Arizona gardening--so we dove right in!
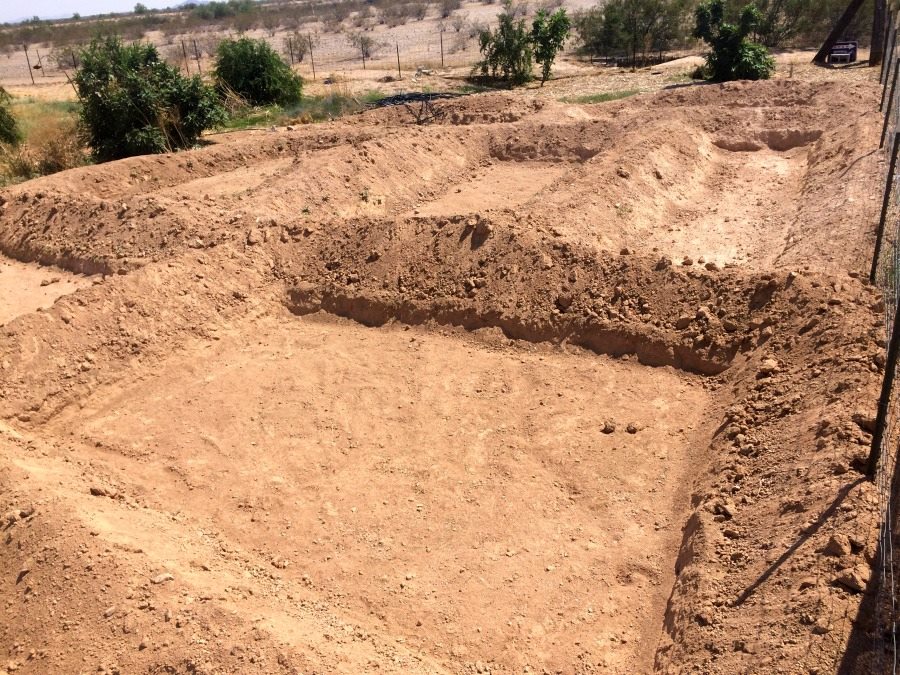 Our sunken beds right after digging (before the walkways were finished).
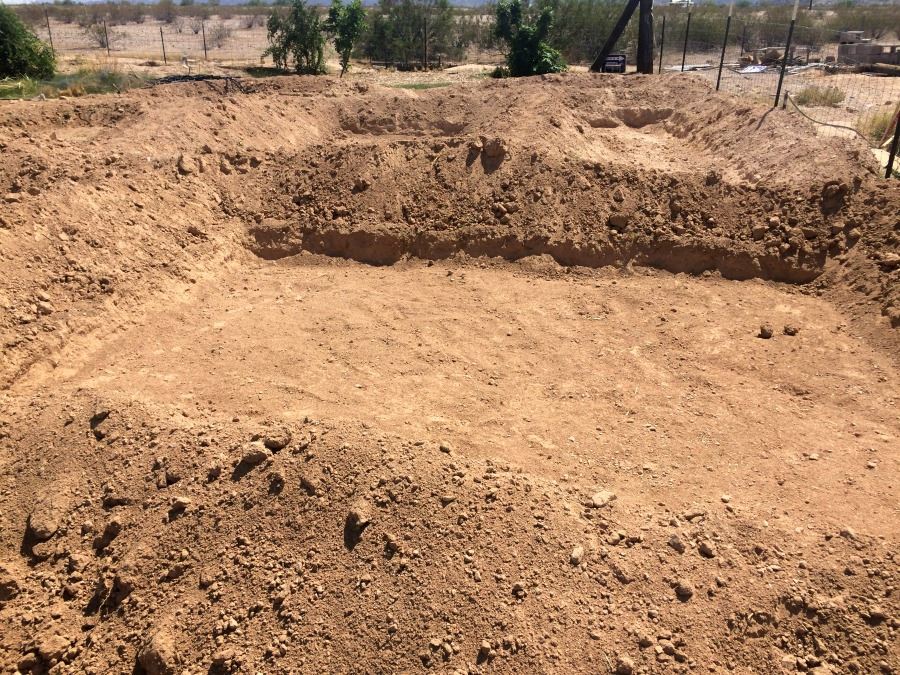 Sunken beds.
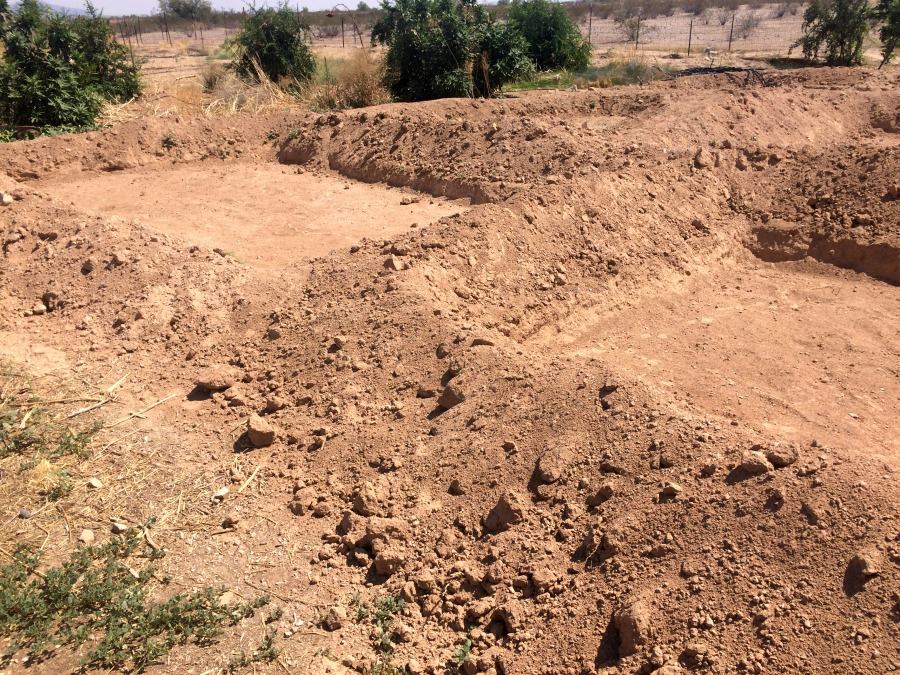 Sunken beds.
Why Sunken Beds?
Here's a list of benefits and reasons to dig out sunken beds when you live in the desert:
- The beds are easy to water.
- The beds conserve water & therefore cost less.
- The walkways get less water and are easier to keep weed-free.
- The soil stays very cool and moist in the summer.
- The soil stays warm and insulated in the winter.
- The system only requires a garden hose to water. (No more messy, plastic tubing! :D)
- The desert natives planted in sunken beds. (Time to learn from the long-time experts.)
But what was the end result?
Plants thrive in this system!!
Plants thrive in this Arizona gardening system!
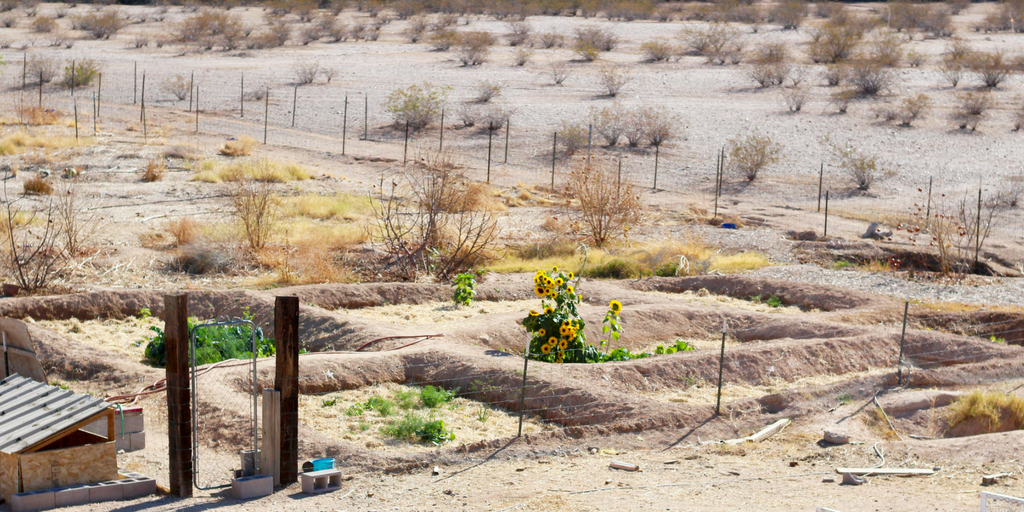 Photo taken from the roof of our house. The walkways are done, the beds are mulched and we have a few plants growing! :-) There are a total of seven beds: 2 on the left, 3 in the middle, and 2 on the right. The wash (right behind the beds) are planted with fig and pomegranate trees (the leave have fallen because it's winter).
How to Construct Your Sunken Beds
Constructing sunken beds is a pretty easy job and the most expensive material needed is a shovel.
#1. Plan Your Beds & Walkways
There are some great zoning aspects you can learn about from permaculture experts. This will help you place your garden in the perfect spot on your homestead. I highly recommend you look into it before for you choose where you are going to place your garden plot. (Learn more here. FYI I don't agree with everything in the article.)
The walkways need to be about 2-3+ feet wide. This allows the dirt to settle and gives you enough room to walk.
The beds can be as large or small as you like. If you have only a small area I suggest sticking to one bed, as you would loose quite a bit of space with the walkways. I prefer several smaller ones over one really large area, but either way will work.
On paper or just the dirt? You can draw this all up on paper, or do it the way I did and just go out and mark it on the ground with a shovel. Either way you need to have it marked out so you and your digging crew know where to dig and where the walkways will be.
For our garden we dug out seven beds and none of them are the same size. They didn't need to be perfect. You don't even have to do them in rectangles, try whatever shapes or designs you like or fit in best with your location.
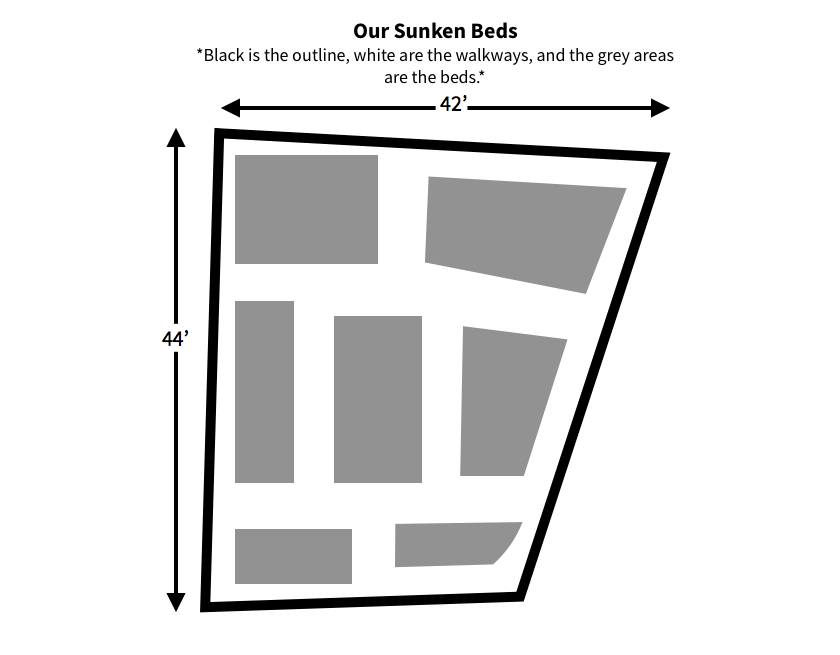 Approximate layout of our sunken garden beds. Also the measurements are there so you have an idea of how big it is.
#2. Dig Out the Beds
After you have marked out the beds, dig them out about 1-2 feet deep. While you are digging pile up the dirt on the "walkways" and try to evenly pile it so you don't have to move much dirt later. The "walkways" or berms, will get really full of dirt and by the time you've dug out what you need to the berms will be a couple of feet higher than the original soil level. That's fine, we'll finish that up later.
#3. Level out the Bottom
The more level the bottom of your beds are the better. You want to know that when you water the water covers all of the sunken bed.
To make sure your bed is level, use the hose to fill it up with water. If the water doesn't get to one area you know that you need to dig more of that out. Keep filling to test it until you are satisfied that the bottom is decently level.
*NOTE: it's best not to dig in soil that is really dry or really wet, the soil and microbes don't like it.*
#4. Stomp Down & Shape the Walkways
Have you ever made berms for a tree well, so you can water it more easily? Cause that's exactly the concept of what you're going to do here.
Stomp on the dirt to pack it down, then water it. Keep repeating until your berms are nice and firm (keep in mind that the sun will also help bake them hard). Try to make the berms as wide and flat as possible to make a nice walkway.
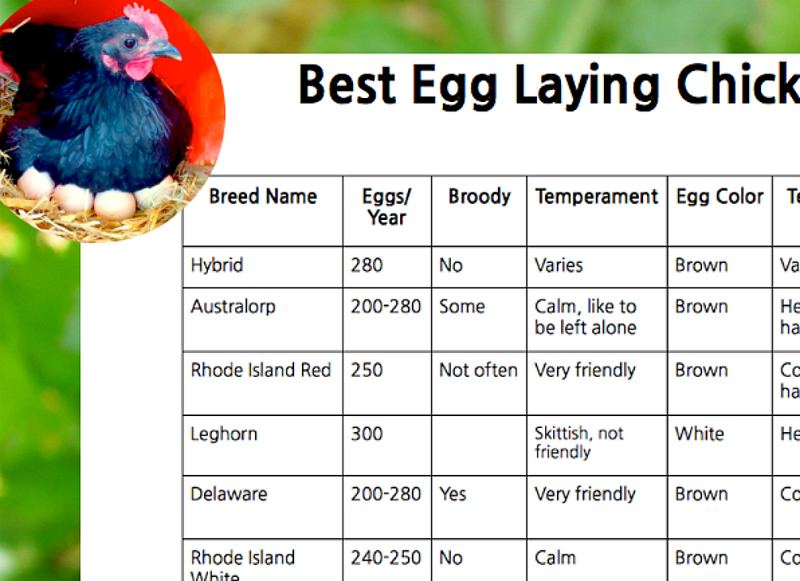
Which egg laying chickens are best for you?
Here is the 10 best egg laying chickens chart to help you compare and pick the best for you! Download Your Own Copy Now!
Psst! Just so you know you are also signing up for my email list. You can unsubscribe at any time.
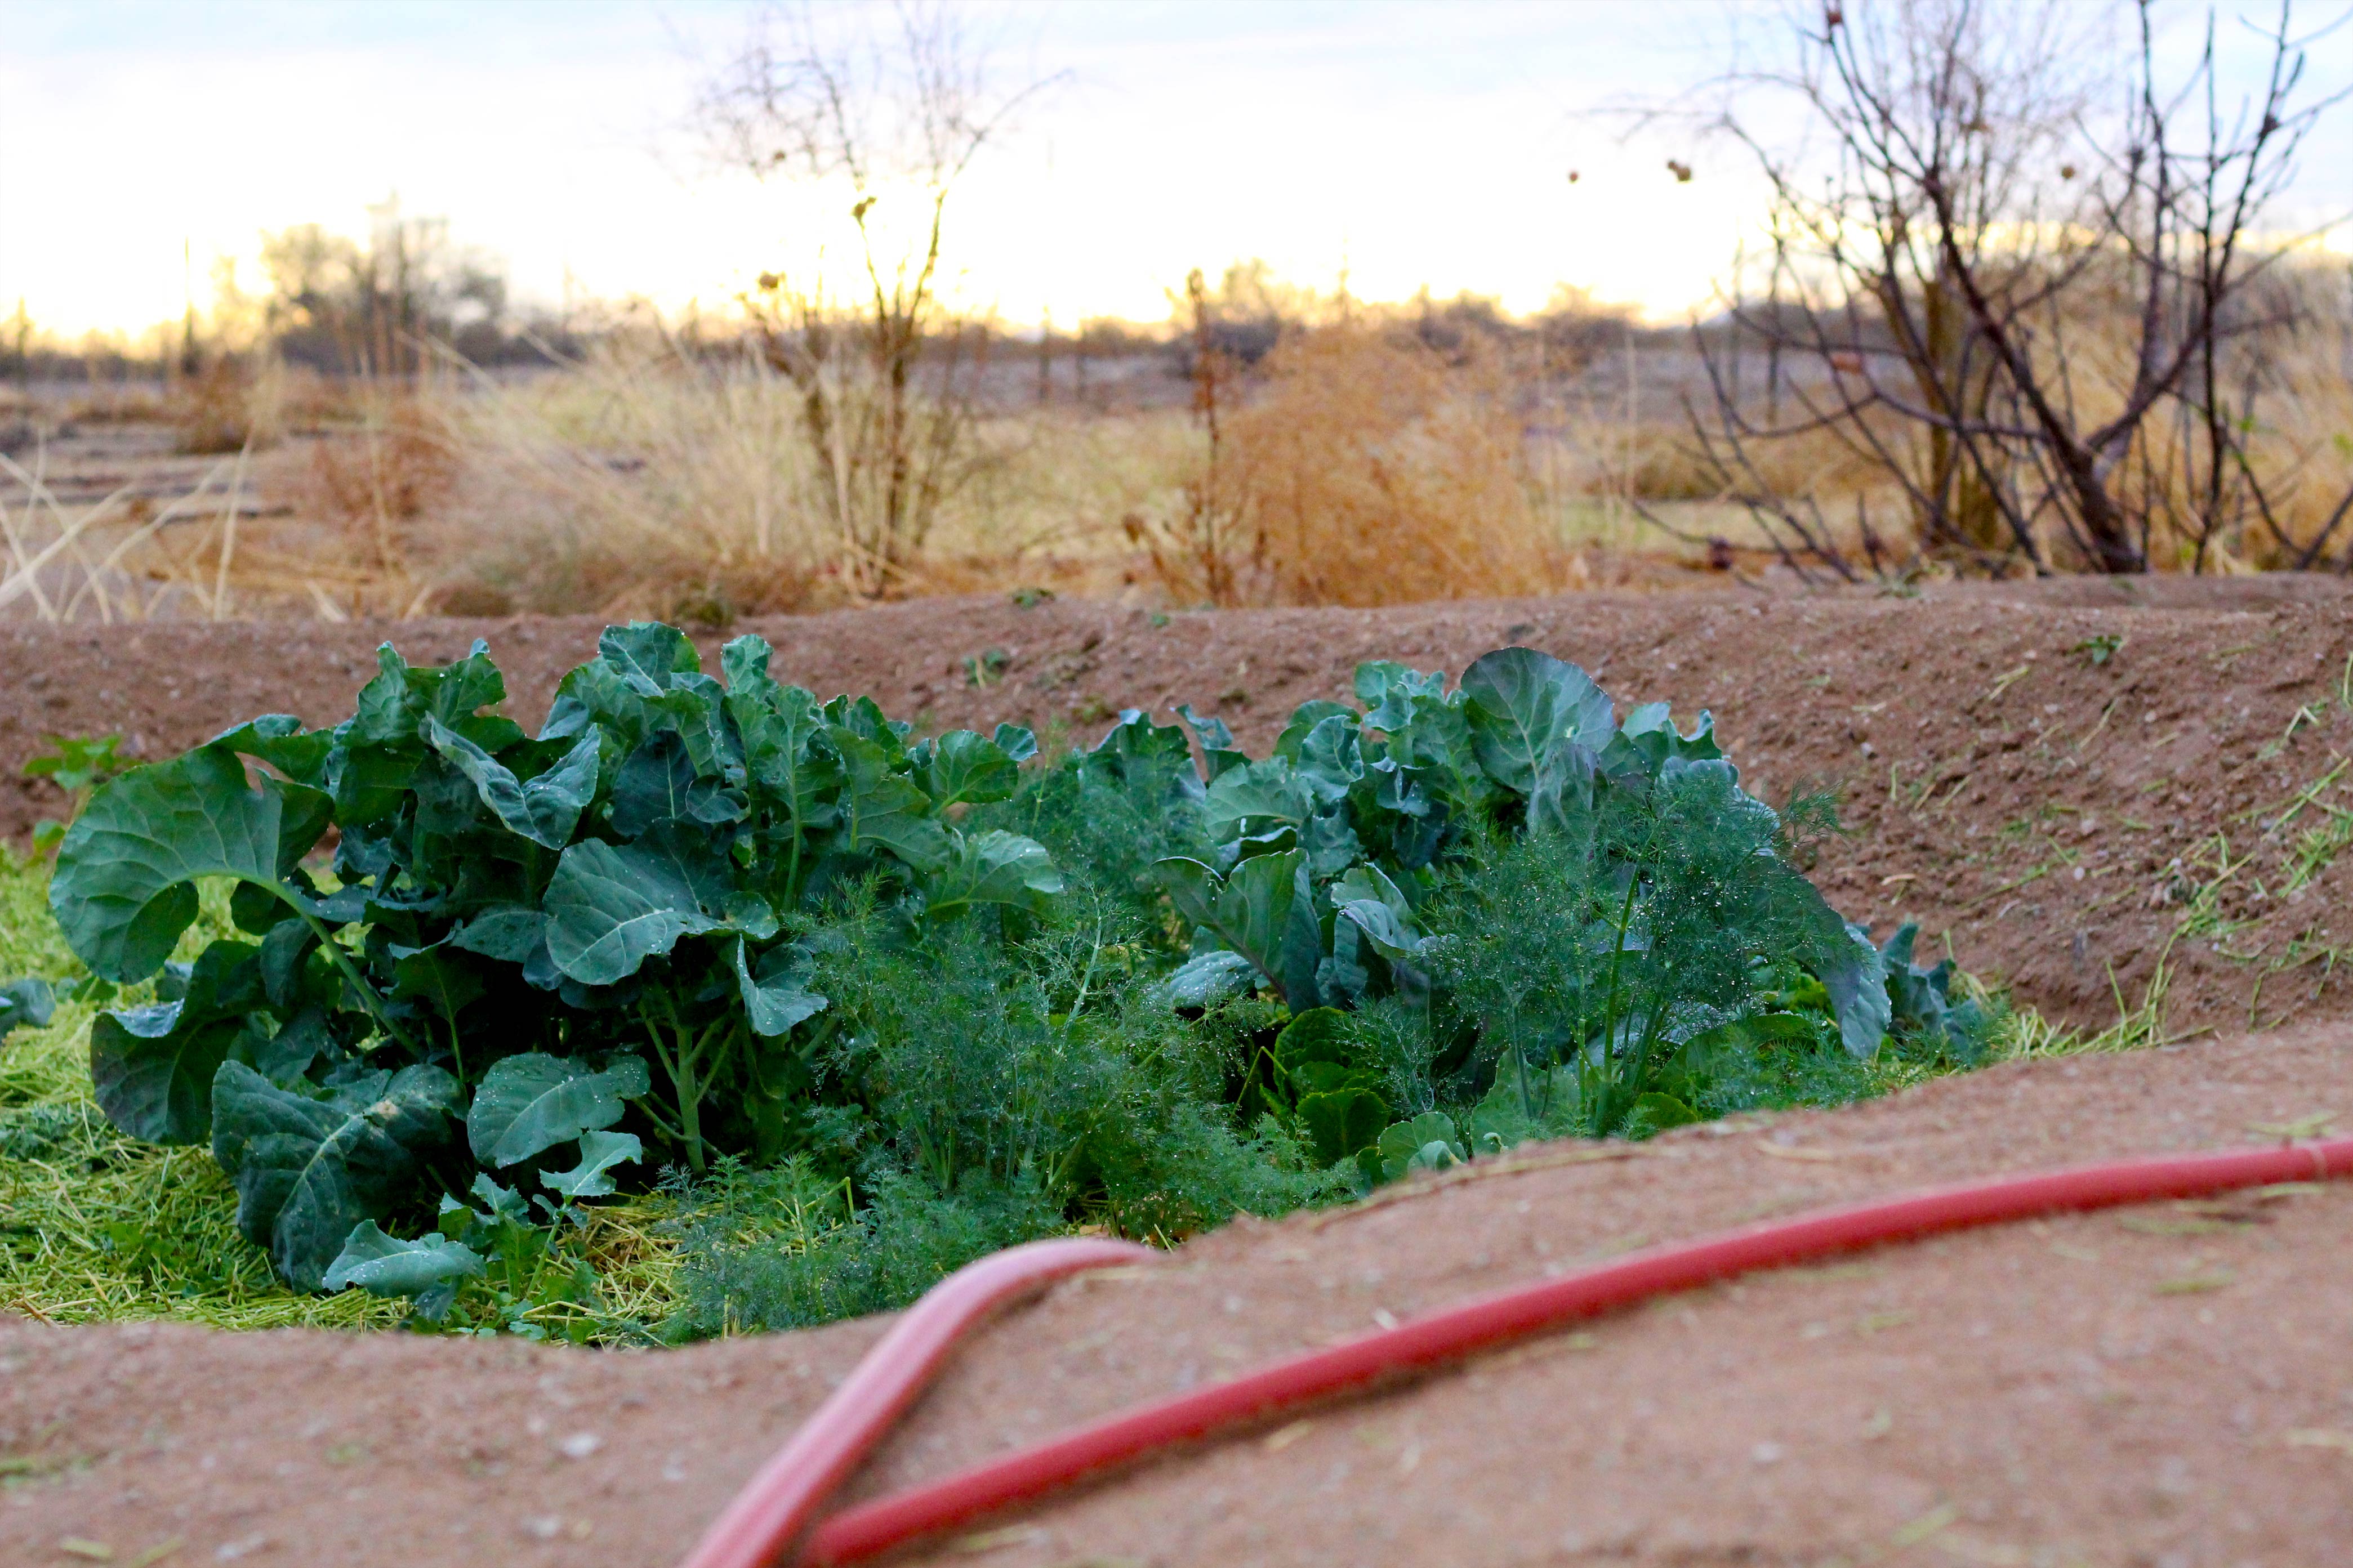 Collards and dill happy in our mulched, sunken beds.
Get the Beds Ready for Planting
#1. Compost
Spread a layer of compost, worm castings, manure (just be careful not to apply un-composted manure too thickly) or any other natural source of nitrogen to the bottom of the beds. If you have good compost add as much as you possibly can. Remember, you removed the top-soil where most of the micro organisms and good stuff would have been.
#2. Mulch
Mulch is something your garden needs even if you can't give it anything else. After spreading the compost, add a nice layer of mulch. (Wood chips not recommended in the annual garden. Read Teaming with Microbes to learn more.) A few great options are straw and/or alfalfa. Try to keep the mulch 3-5 inches thick through out the growing season, and that thick or thicker when you let it lye dormant.
Get organic hay so you don't run the risk of poisoning your garden!
#3. Water (Before Planting)
I always like to water the location I'm about to plant the night (or a few hours) before planting. My transplants or seeds really like this, and I highly recommend it for dry Arizona gardening. It primes the soil, filling it up and giving an extra store of water. You'll plant in the moist soil, and water again after you plant.
Happy Arizona Gardening! =)
Arizona gardening really isn't that hard when you know how to do it right. The number one step is to stop thinking you can garden like the rest of the country! You'll be fighting an uphill battle the whole way. Here are some of my favorite books to help you get the right info specifically for Arizona gardening so you don't have to learn everything the hard way. I'm not kidding when I say that all of these are very valuable and have helped me a lot.
(For Arizona gardening, if you could just get one, Extreme Gardening: How to Grow Organic in the Hostile Deserts, by David Ownes is my first choice and Rainwater Harvesting for Drylands and Beyond is about equal to it. The first one is basic stuff you need for vegetable gardening, and the second is my favorite for watering the entire homestead. If you want to dig even deeper, Teaming with Microbes is one of my favorites that helped me understand so much more about soil life.)
Links on this page may be affiliate links, so I may get a small commission if you make a purchase. Thank you for supporting this blog! 🤗 Read the full disclosure here.
Hey there! I'm Julia. I live in Arizona on 2.5 acres, with HOT summers☀️, lots of cacti🌵 and amazing sunsets🌅! A sinner saved by grace, I'm also a homeschool graduate🎓. The oldest of six, I live with my family at home🏡. Serving the King, Jesus Christ, above all is my number one goal. Read more -->

Check out my best sellers over on Etsy
|
Soli Deo Gloria! (Glory Be to God Alone!) ~ Julia
|
-
-
Soli Deo Gloria! (Glory Be to God Alone!)
~ Julia
 Hey there! I'm Julia. I live in Arizona on 2.5 acres, with HOT summers☀️, lots of cacti🌵 and amazing sunsets🌅! A sinner saved by grace, I'm also a homeschool graduate🎓. The oldest of six, I live with my family at home🏡. Serving the King, Jesus Christ, above all is my number one goal. Read more --> |
psst...Instagram is my favorite 👇😉
-
-
.
Only takes 35 to 75 days from ground to plate. A wonderful collection of greens of diff... [More]
Start your own Mexican Salsa garden seeds indoors and get a jump on the growing season.... [More]
Rudbeckia hirta 20 inches. A dazzling show of 3\" blooms in shades of cherry red. Prol... [More]
.
